Everything You Need To Know - From installing tailwindcss to deploying a tailwind website to production.

Learning Web Development | Sharing my Journey of #100DaysOfCode on Twitter | HTML | CSS | TailwindCSS | JavaScript | Bootstrap
🖌️ Tailwind CSS is an open-source, utility-based CSS Framework.
Why use tailwindcss?
- You don't have to think of different class names again and again.
- Tailwind provides a list of CSS classes which makes the process of styling more fun and easy.
- You don't have to make two separate files (index.html & style.css) to design your websites. You can write tailwind css inside your HTML file.
- When you make a change, there is no risk of breaking existing templates.
- Tailwindcss also allows you to build responsive websites. In fact, it is easy compared to our actual css. By default, tailwind uses a mobile first breakpoint system.
A lot of people must have wondered, will tailwindcss slow down our websites, or will they increase the production bundle size, because there are so many classes inside one single file? Well, the answer is "NO".
Easiest way to install Tailwindcss
🌕 As we know, there are many methods to install tailwindcss for our daily projects, and the easiest and most effortless way is the Play CDN ( But the worst part is Play CDN is only for development not for production. Suppose you want to make an important website and you are planning to deploy the website on GitHub or Netlify then working with Play CDN is not such a good idea. )
Steps To Set Up Tailwindcss
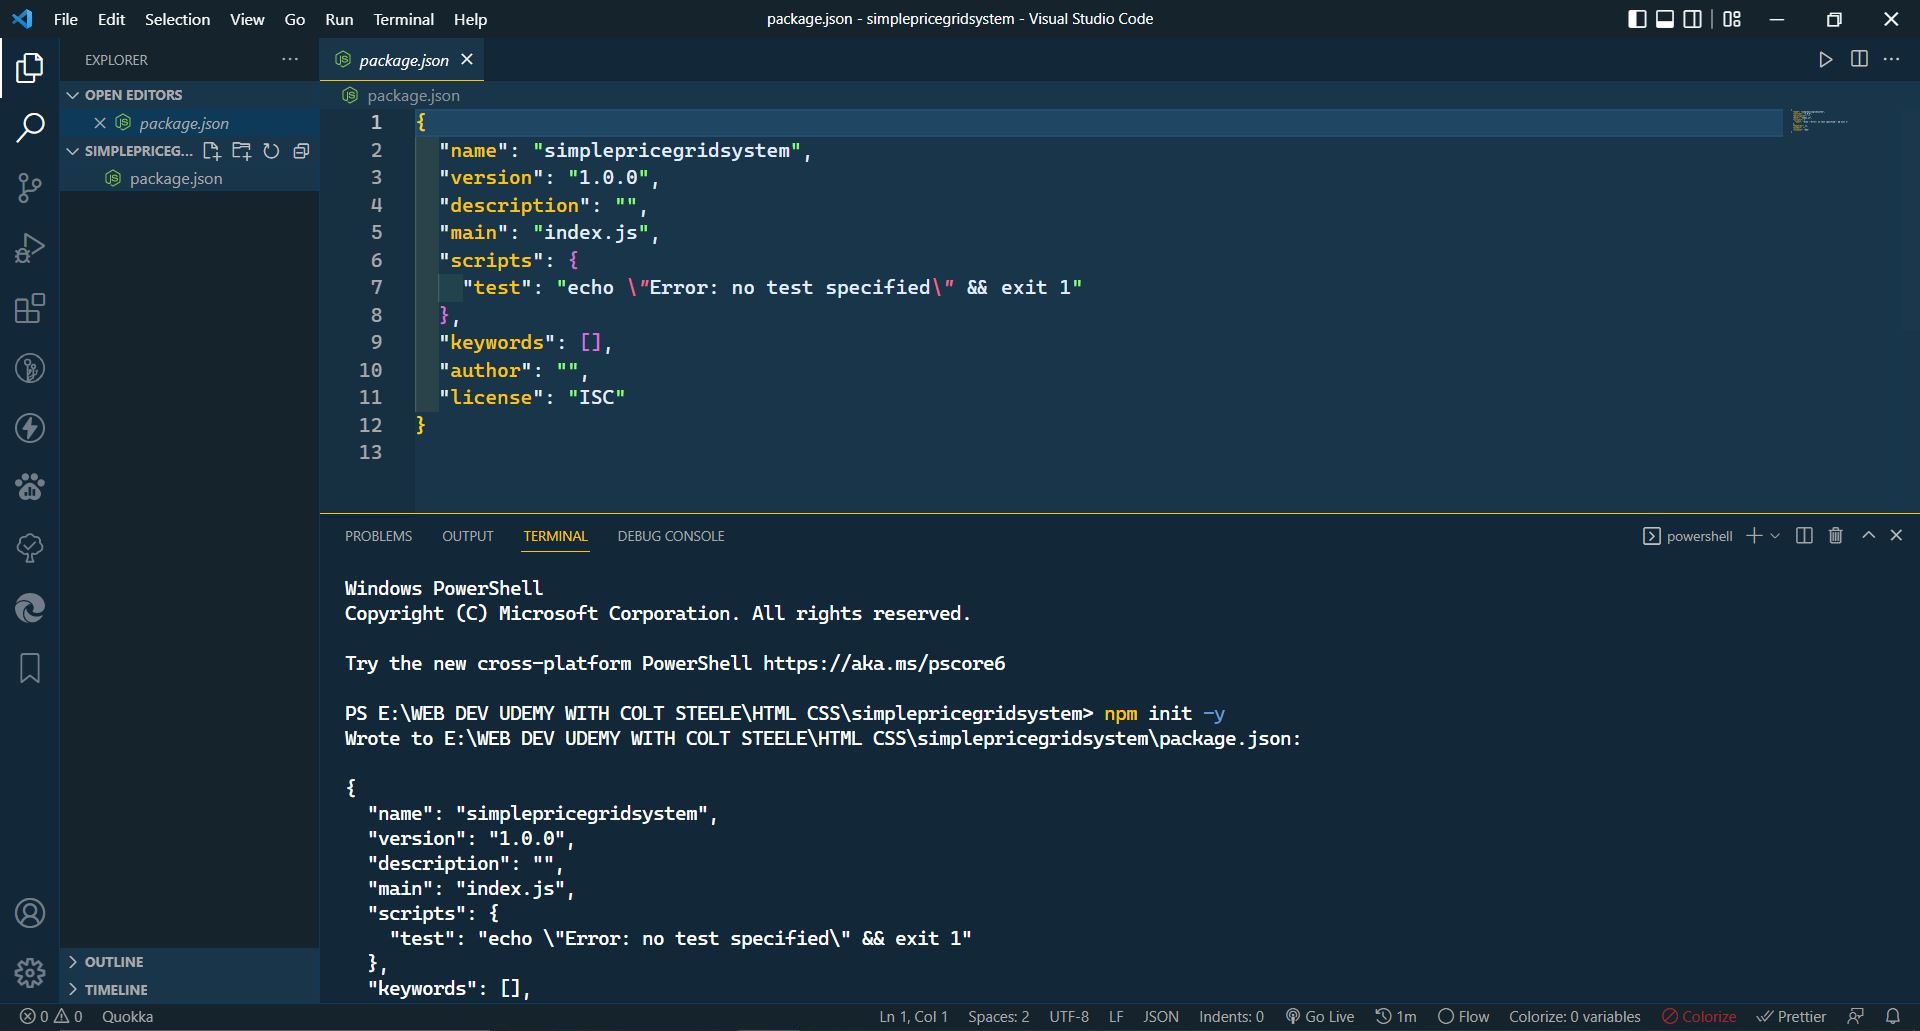
🌕 Open the folder in VS Code and open the terminal.

🌕 Type: npm init -y This initializes the directory as a NodeJs Project. This command will create a package where the project files will be stored and all the modules you download will be stored in the package.
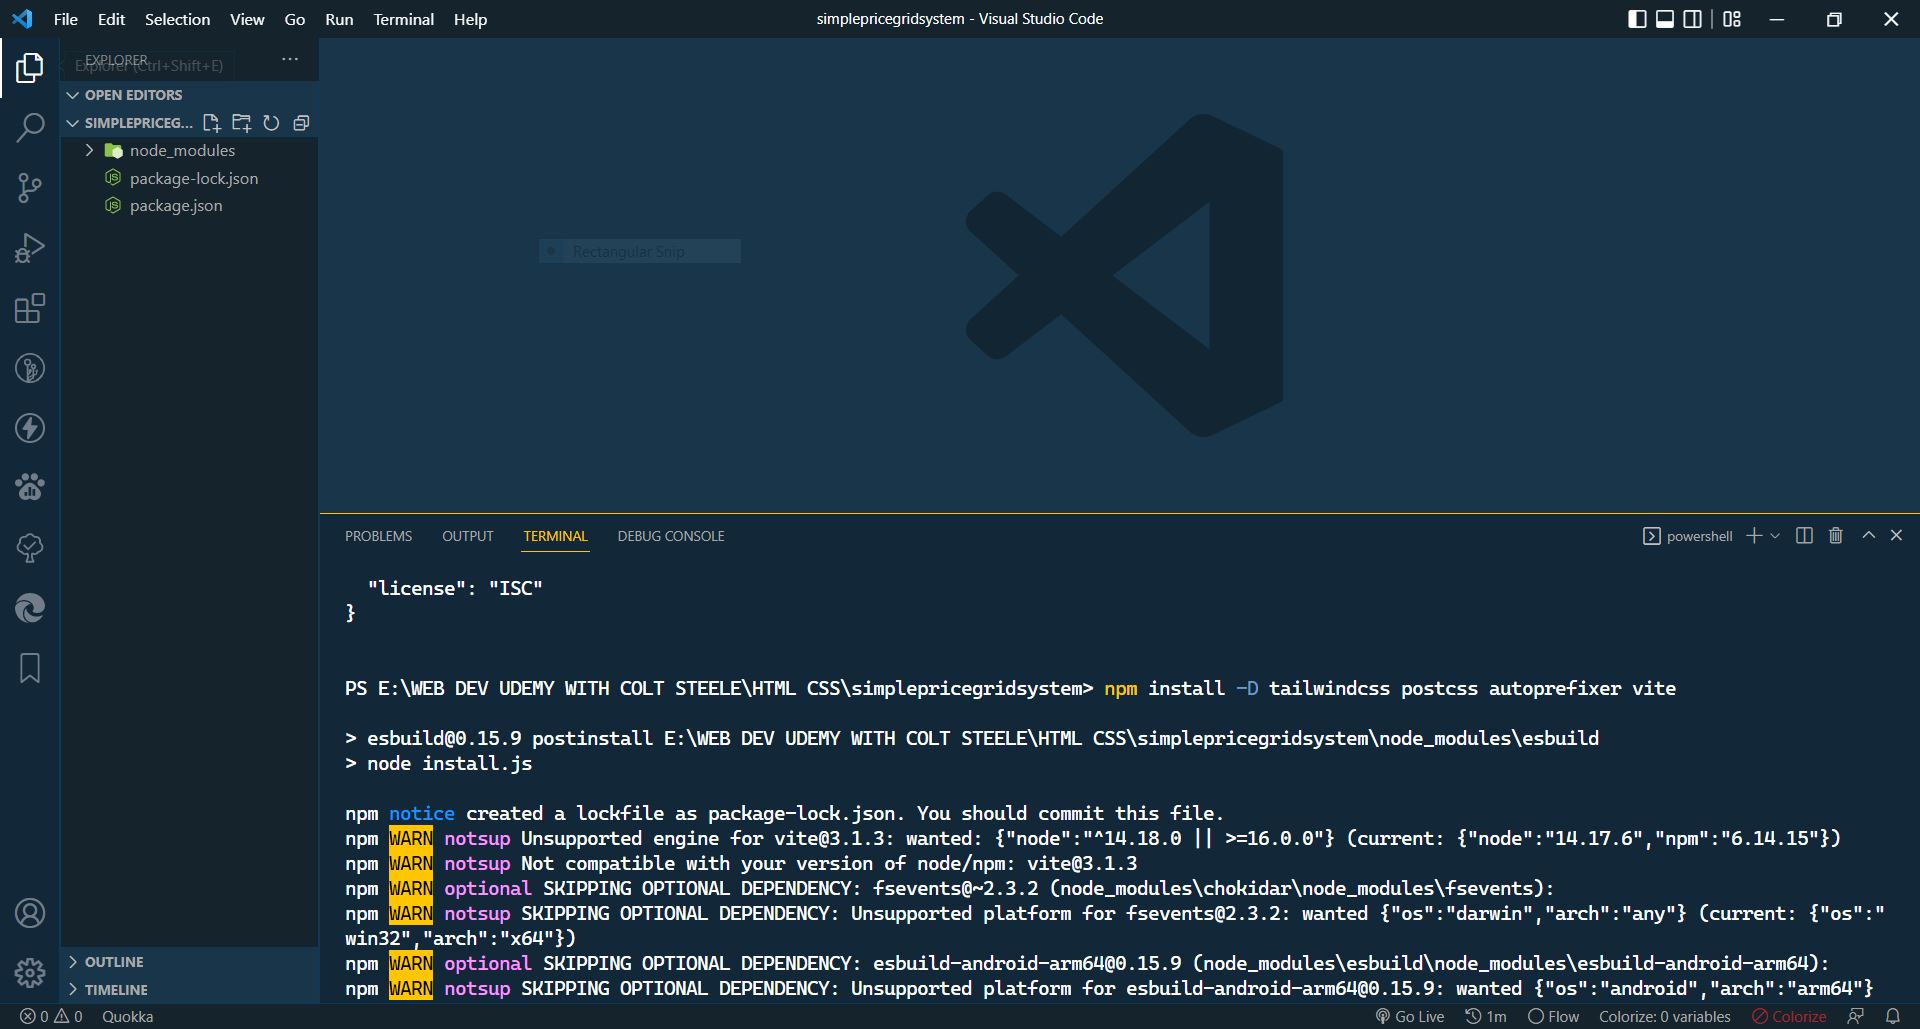
🌕 Type: npm install -D tailwindcss postcss autoprefixer vite This step will install all the required packages and vite will help us start an instant server.
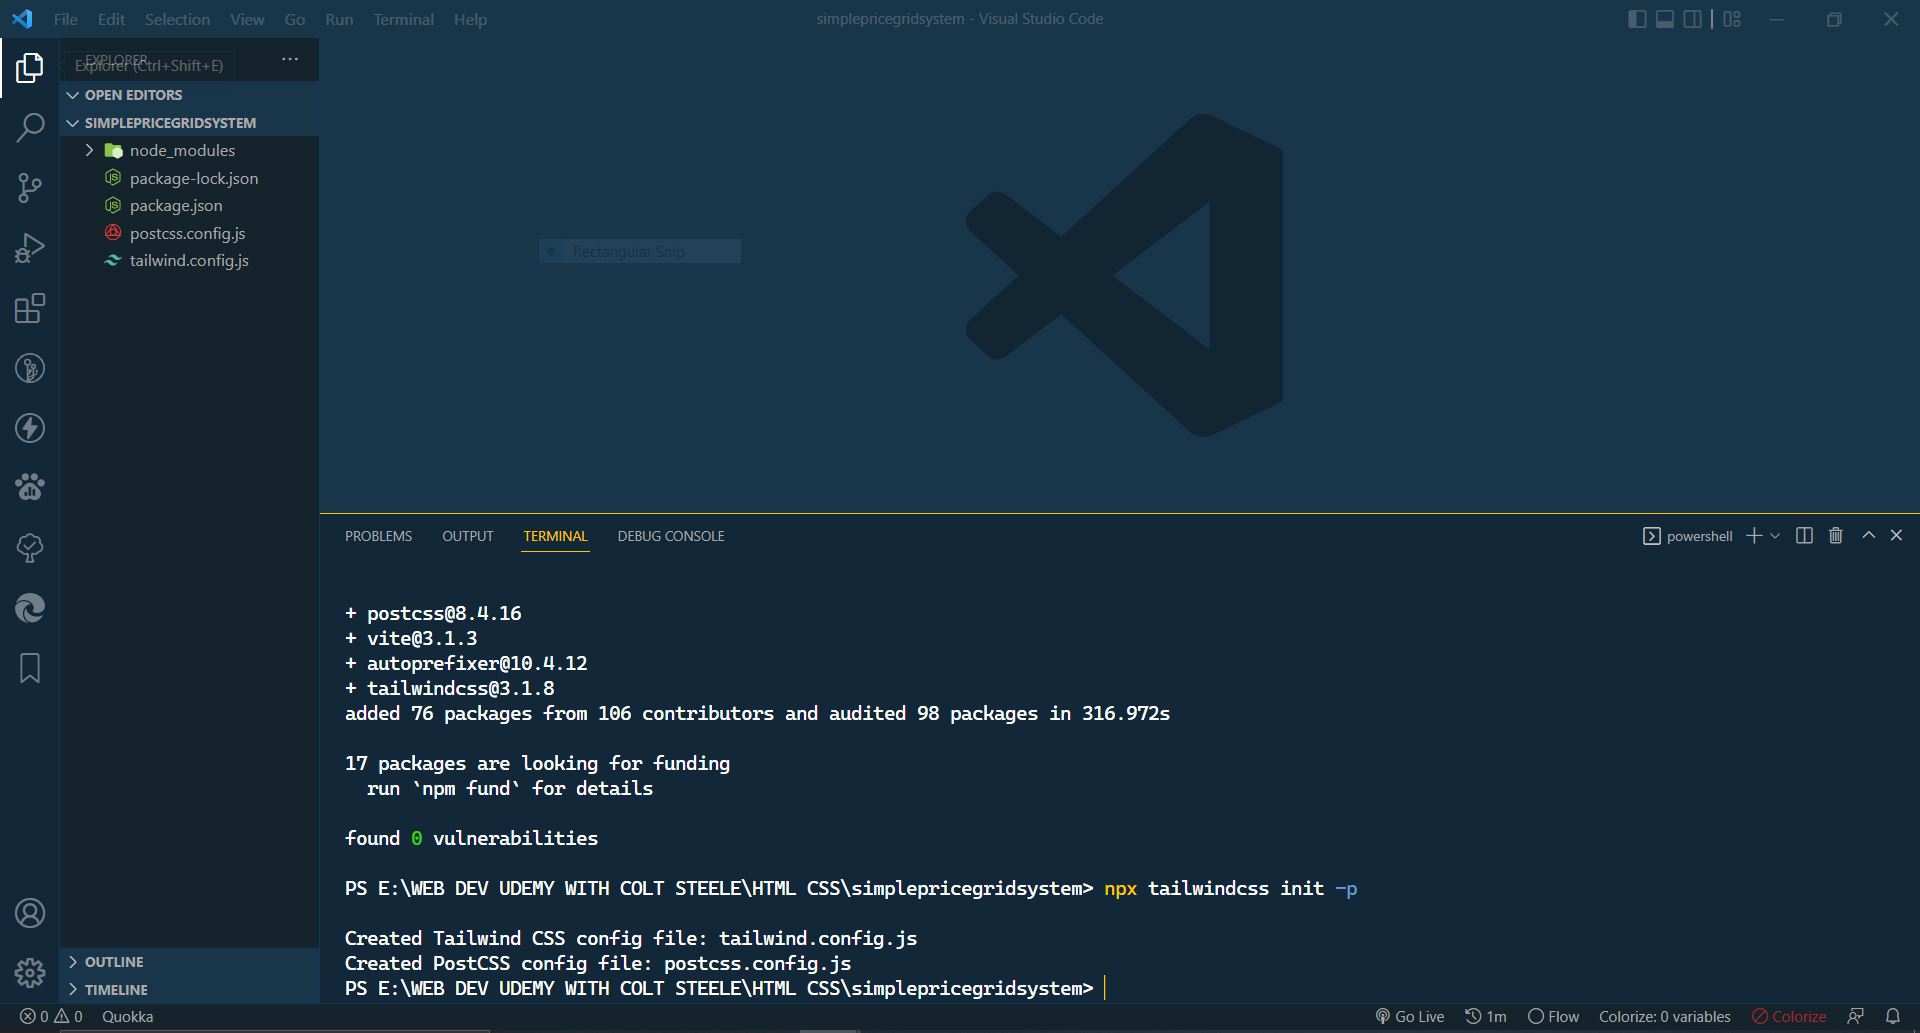
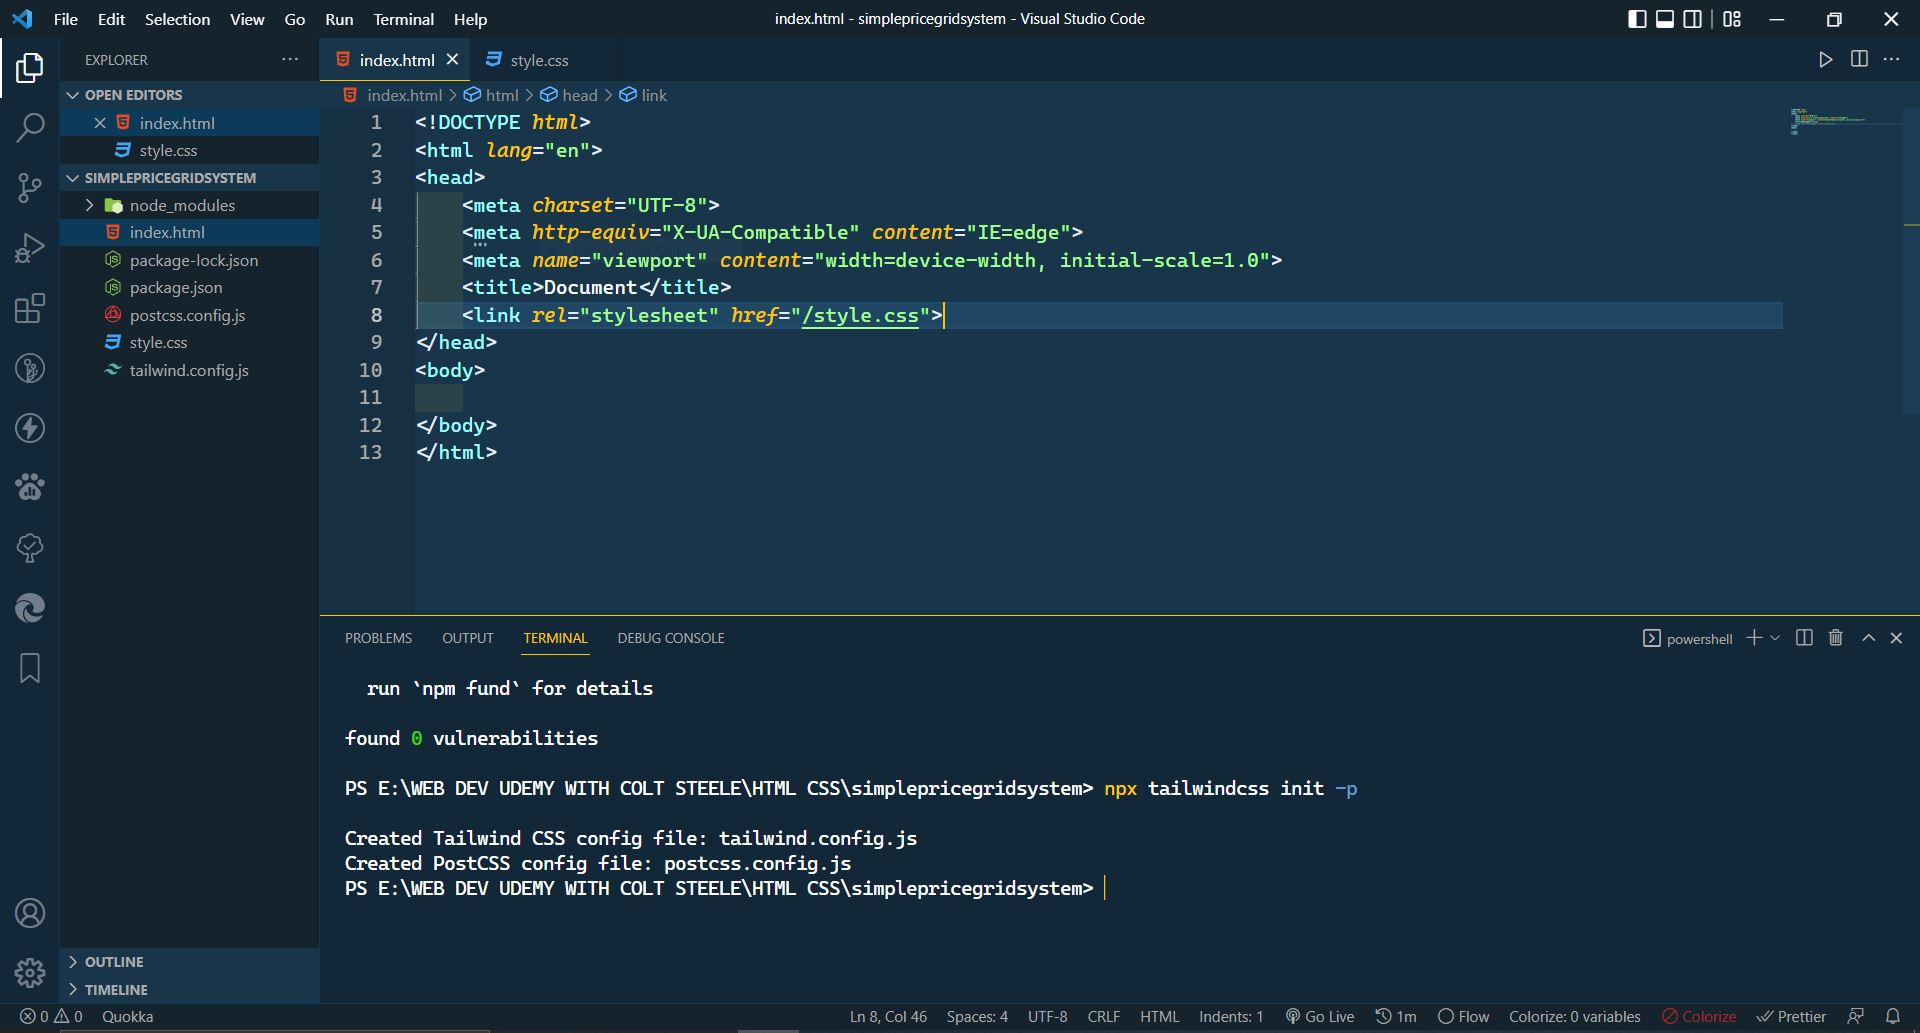
🌕 Type: npx tailwindcss init -p This will generate configuration files for tailwind CSS and postcss.
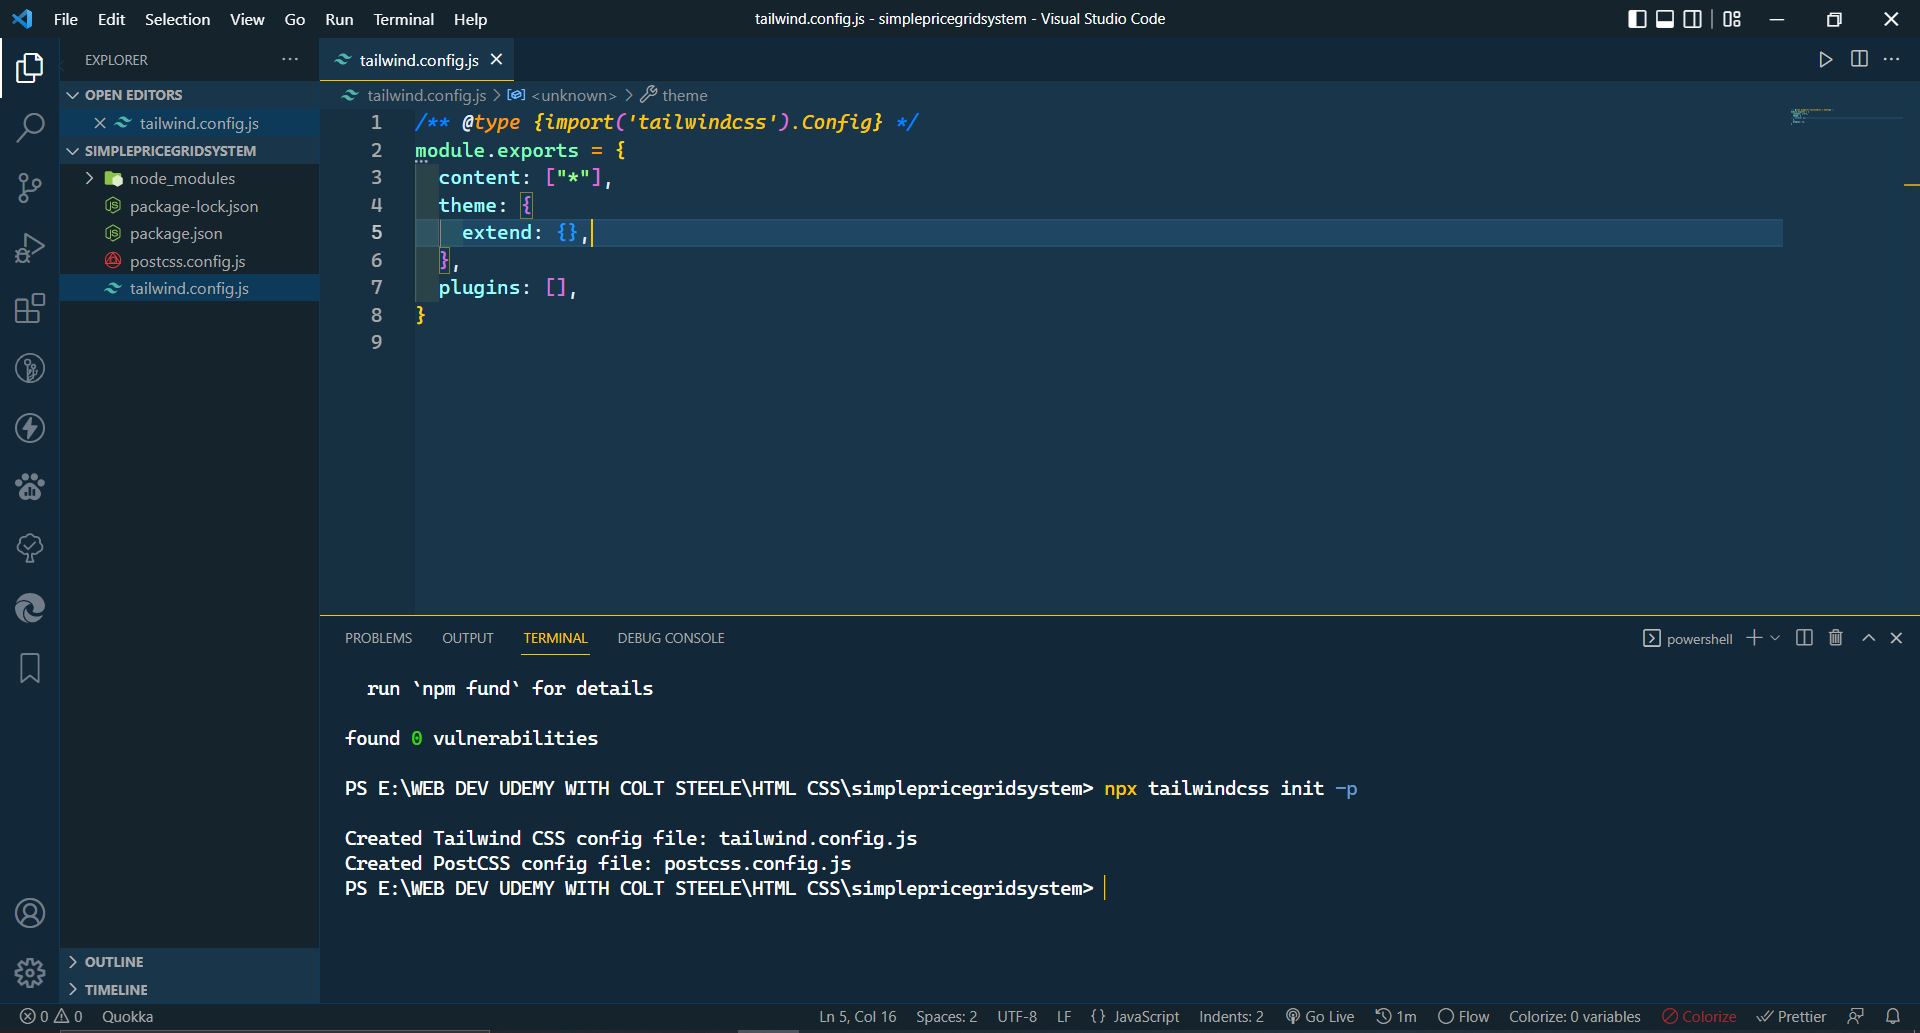
🌕 Open tailwind.config.js ➡️ content: ["*"], This ( * ) means you want to use tailwindcss classes in all the files.
🌕 Make your HTML and CSS file and add the CSS file to your HTML file.
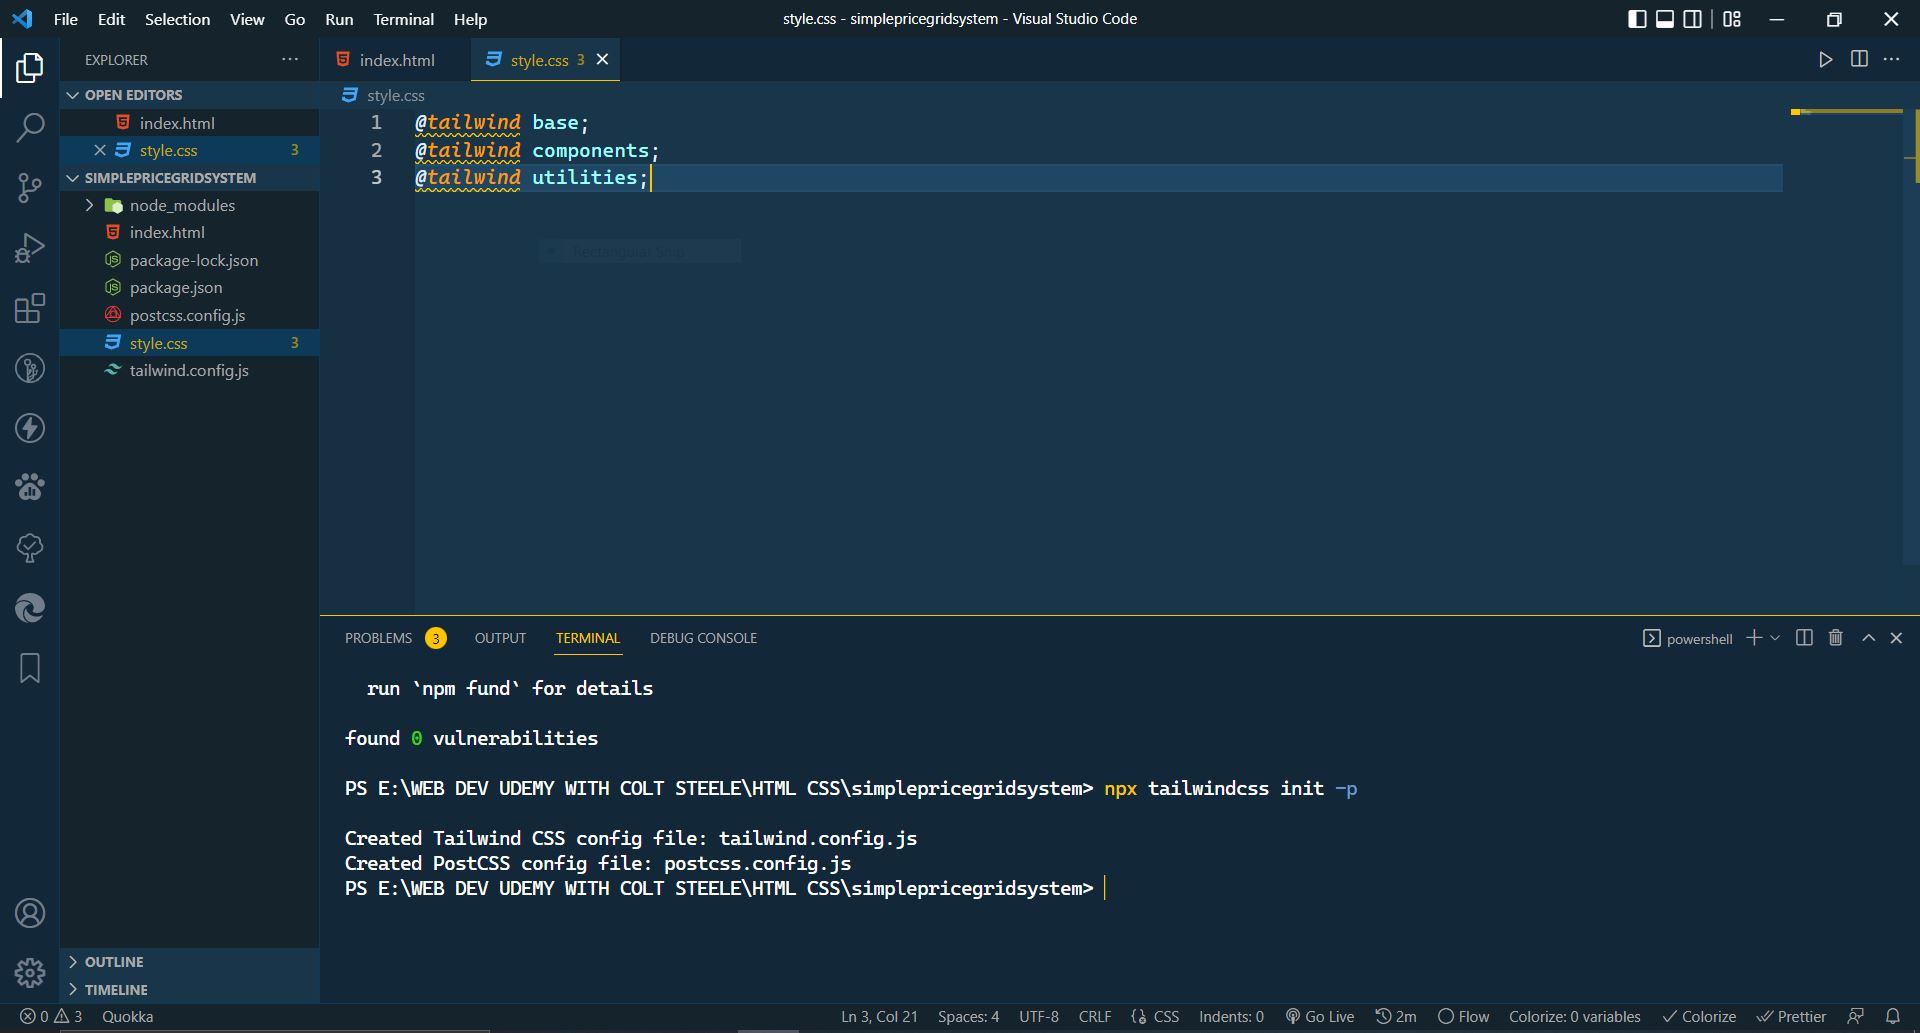
🌕 Now add the tailwind directive i.e; @tailwind base; @tailwind components; @tailwind utilities; to your CSS file.
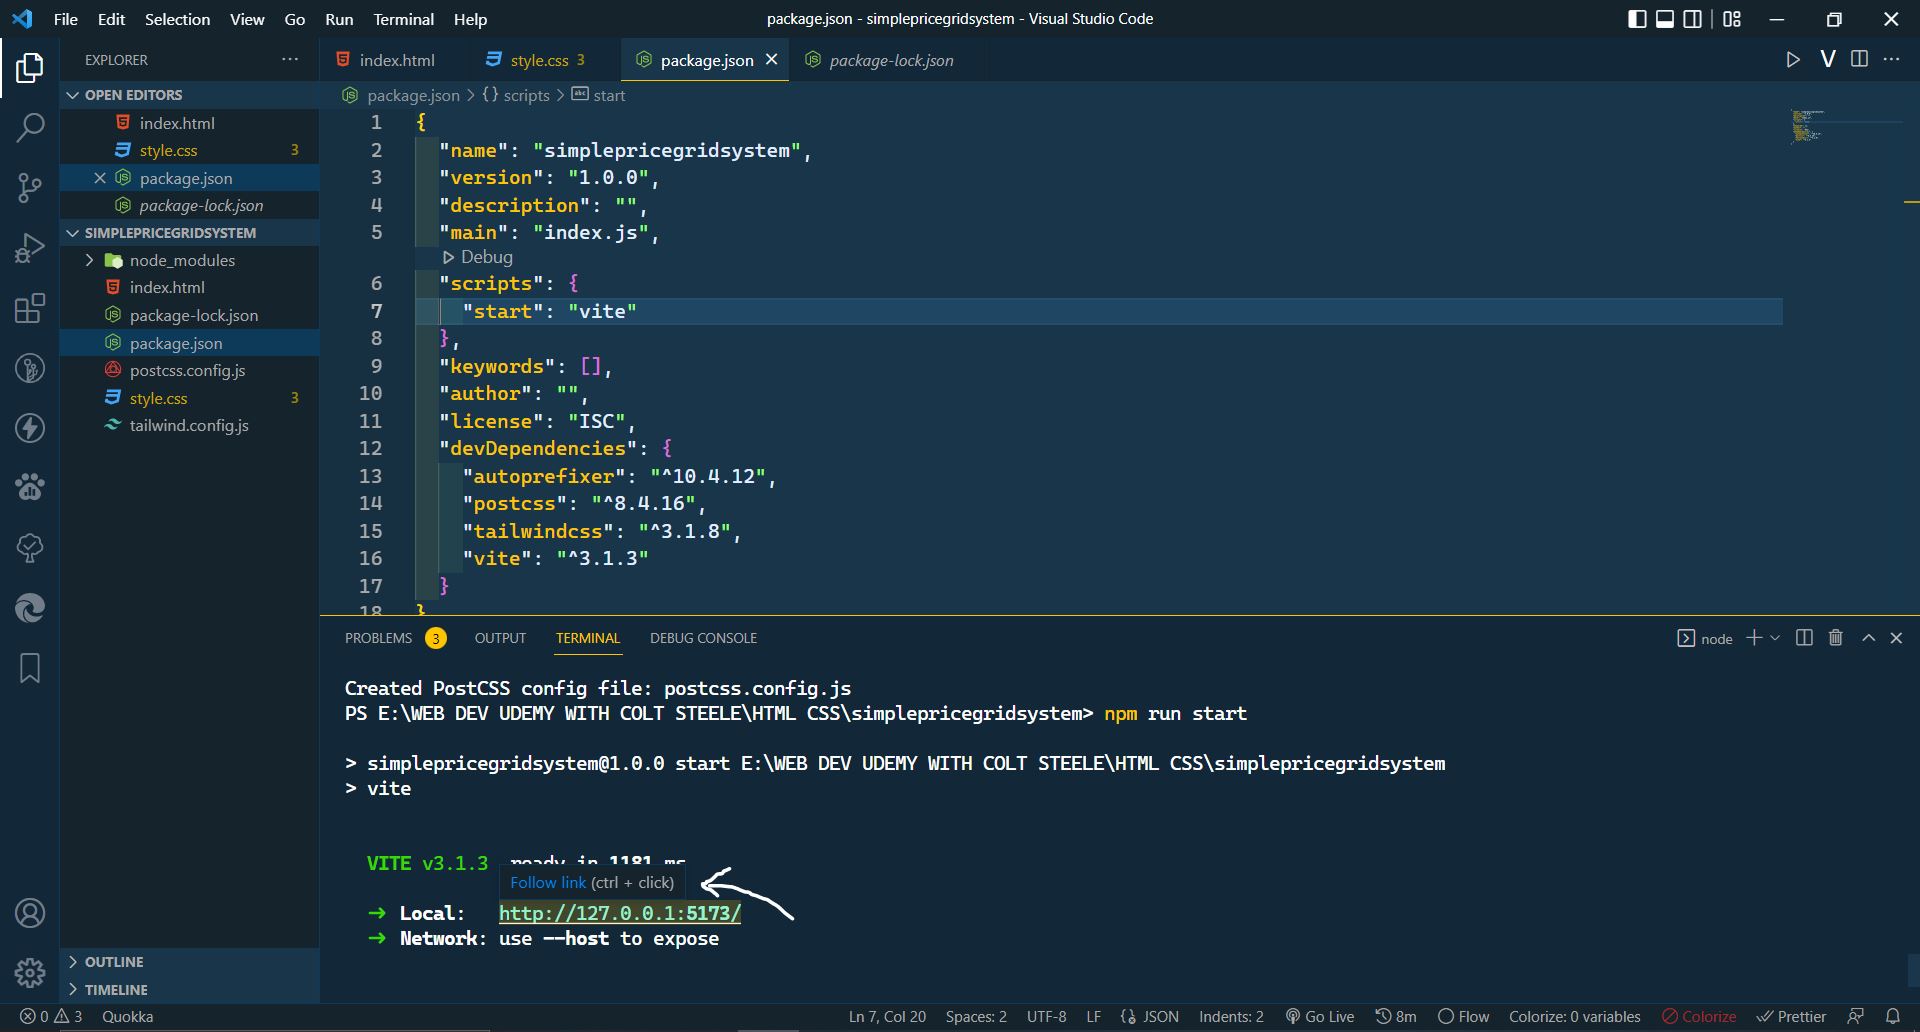
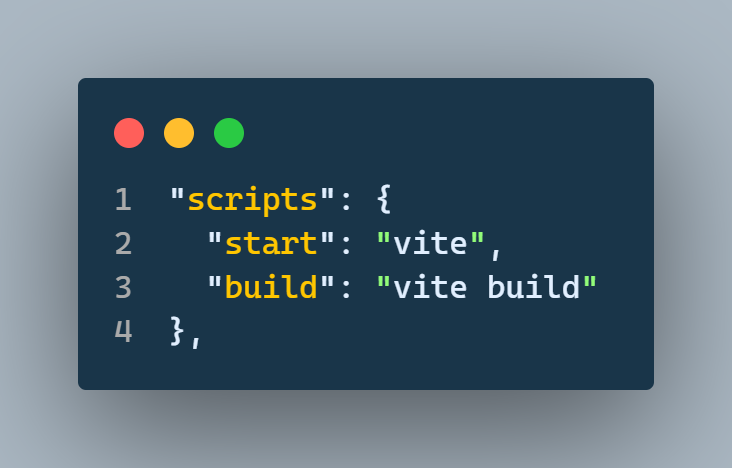
🌕 After adding the tailwind directives to your CSS file, open package.json and add "start": "vite", inside your script in place of test and type npm run start on your terminal. This will automatically generate your webpage. Click the link on your terminal ( ctrl+click ) .
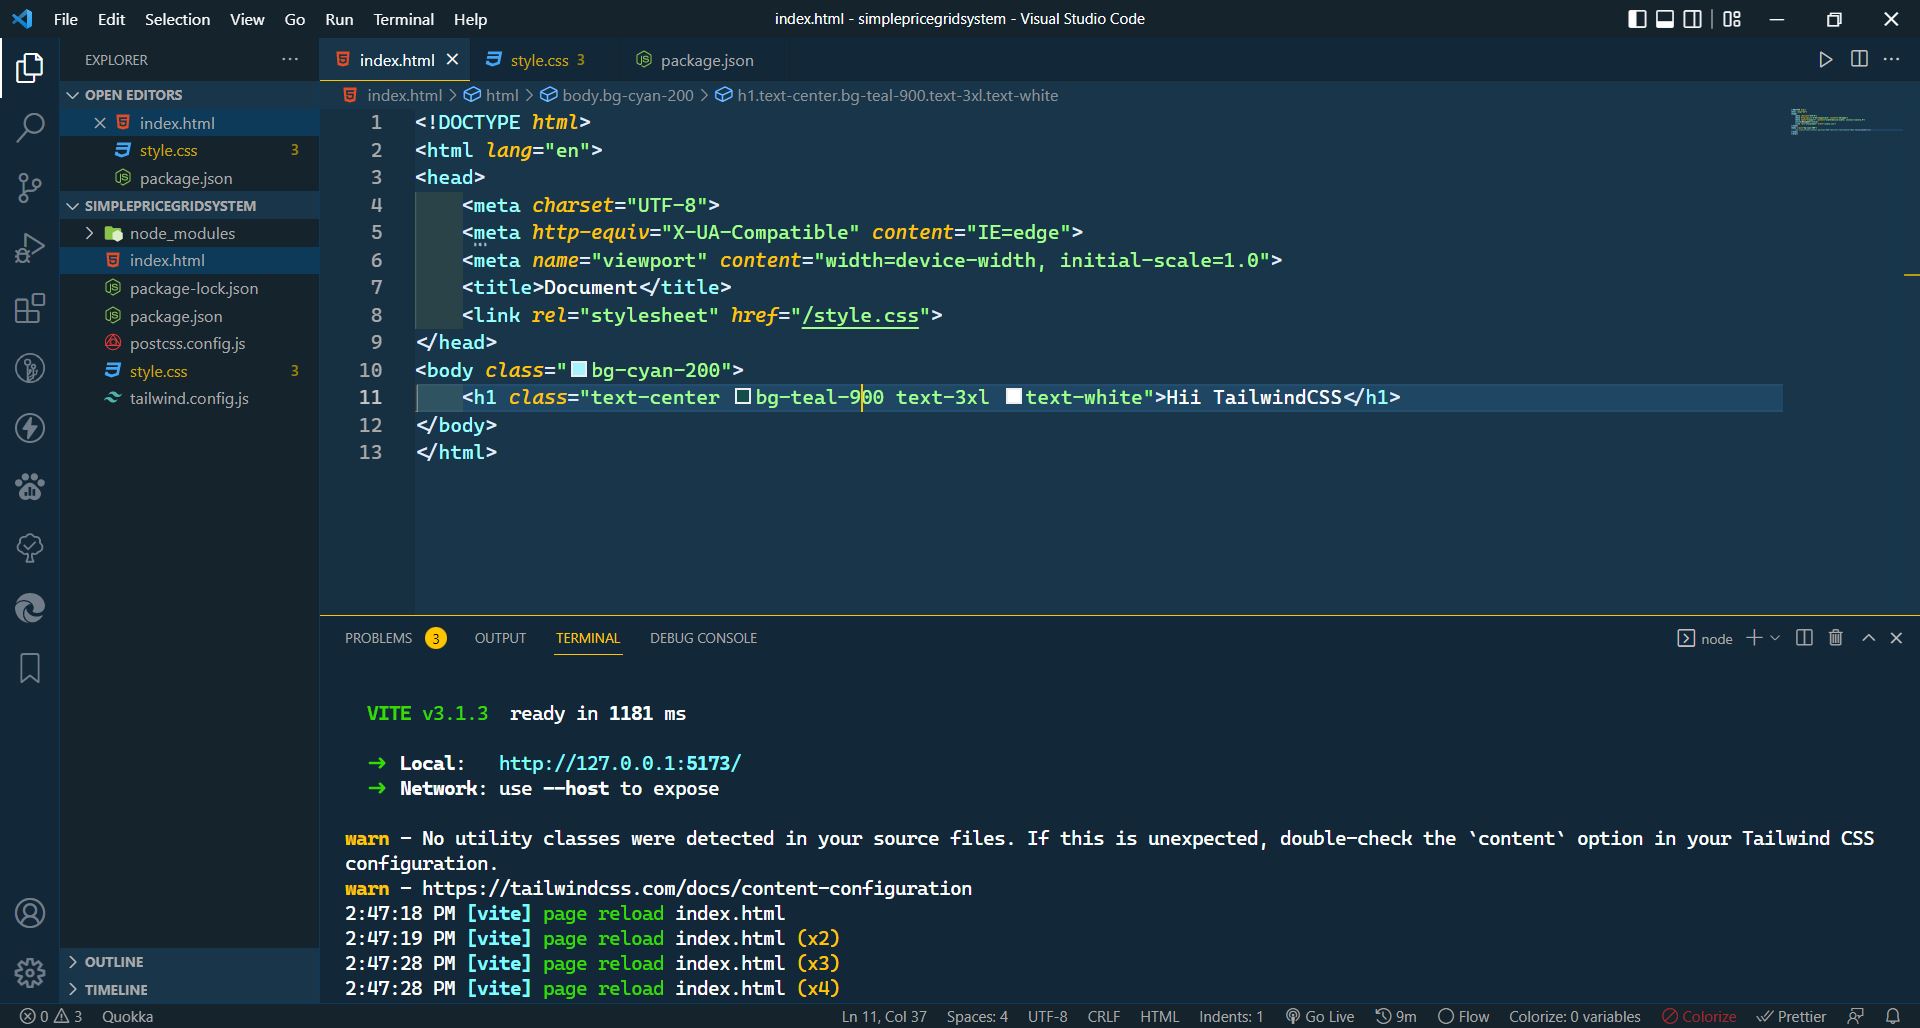
🌕 Now you are ready to write your tailwindcss project.
Deploying your tailwind website to production
Congratulation for making such a beautiful website with tailwindcss 😃. Now it's time to deploy your website. So follow these steps:
🌕 Again open your package.json and add "build": "vite build". After adding this line go to your terminal and type npm run build
🌕 After you run build you will see a folder named dist will be created in your explorer. This will build your website inside the dist folder. This dist folder is all you need for your deployment.
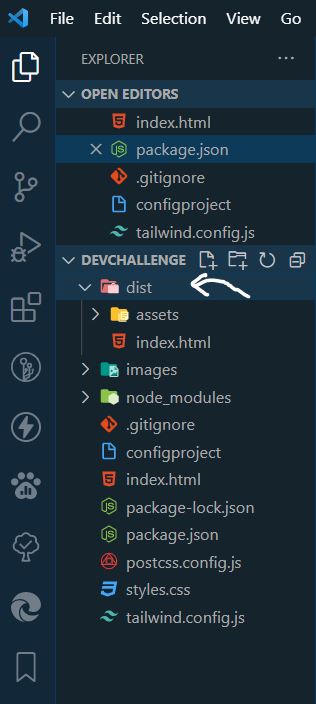
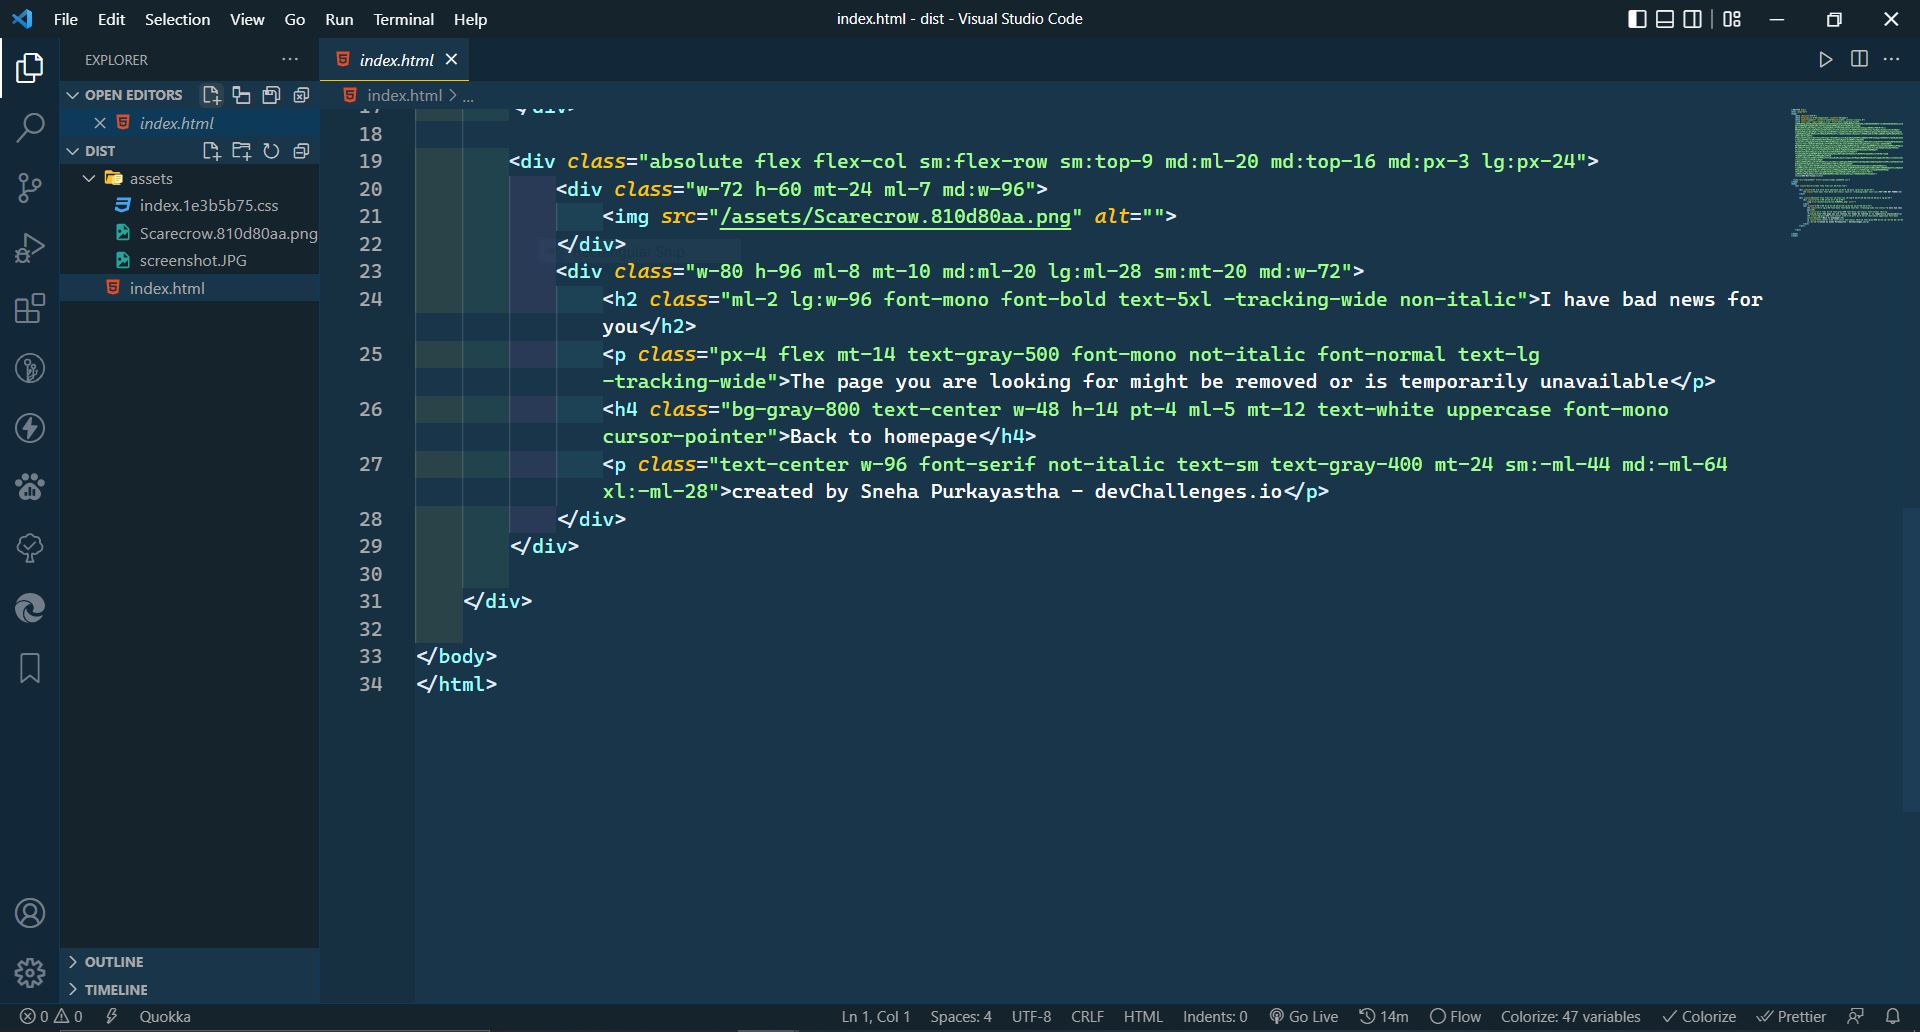
IMPORTANT:- Now, if you close VS Code and go to your project folder and open the dist folder with VS Code and open your project with
live serveryou will see the same website you created a while back. This dist folder contains your whole website including the assets file ( CSS file, js file, any images etc ).
If you want to deploy your website on GitHub or Netlify you can just drag and drop the dist folder.
That's it for now. 😇
I hope I have helped you to understand the easiest installation process of tailwindcss.
Stick around, there is more to come. 🥳
Tweeter handler: Sneha Purkayastha


